


EMS – EcoBoost VCT Lockout Kit for Ford EcoBoost 2.0L / 2.3L
Price range: $60.00 through $240.00
-
Designed and manufactured in-house by Engineered Motorsport Solutions, the EMS VCT Lockout Kit converts the factory exhaust cam phaser into a mechanically locked, adjustable timing gear that eliminates VCT failure risk while providing precise cam timing control for high-horsepower EcoBoost builds.
Installation Instructions for EMS Ex-VCT Lockout for 2.0L/2.3L EcoBoost Engines
EMS VCT Lockout Kit | Ford EcoBoost 2.0L / 2.3L
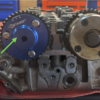
At high power levels, the factory Variable Cam Timing (VCT) phaser becomes a liability. Above 600whp, VCT runaway is a real risk — and when it happens, it can cause catastrophic engine damage. The EMS VCT Lockout Kit eliminates that risk entirely.
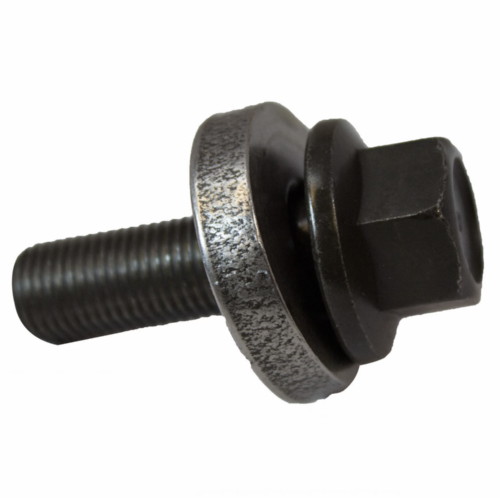
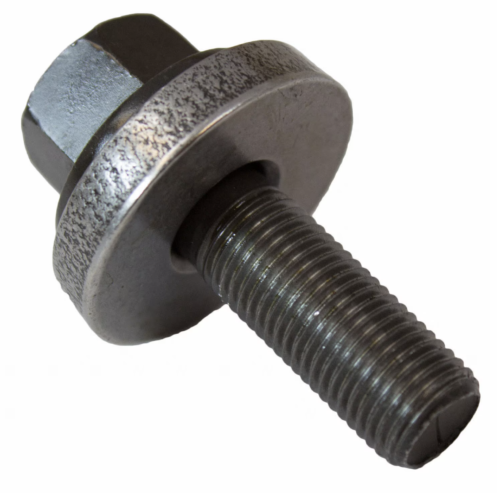
Designed and manufactured in-house by Engineered Motorsport Solutions, this kit replaces the outer half of the factory VCT phaser with a precision-machined, pinned aluminum gear that locks cam timing in a fixed position. The result is a more stable, predictable powerplant that’s ready to handle serious power without the threat of VCT runaway.
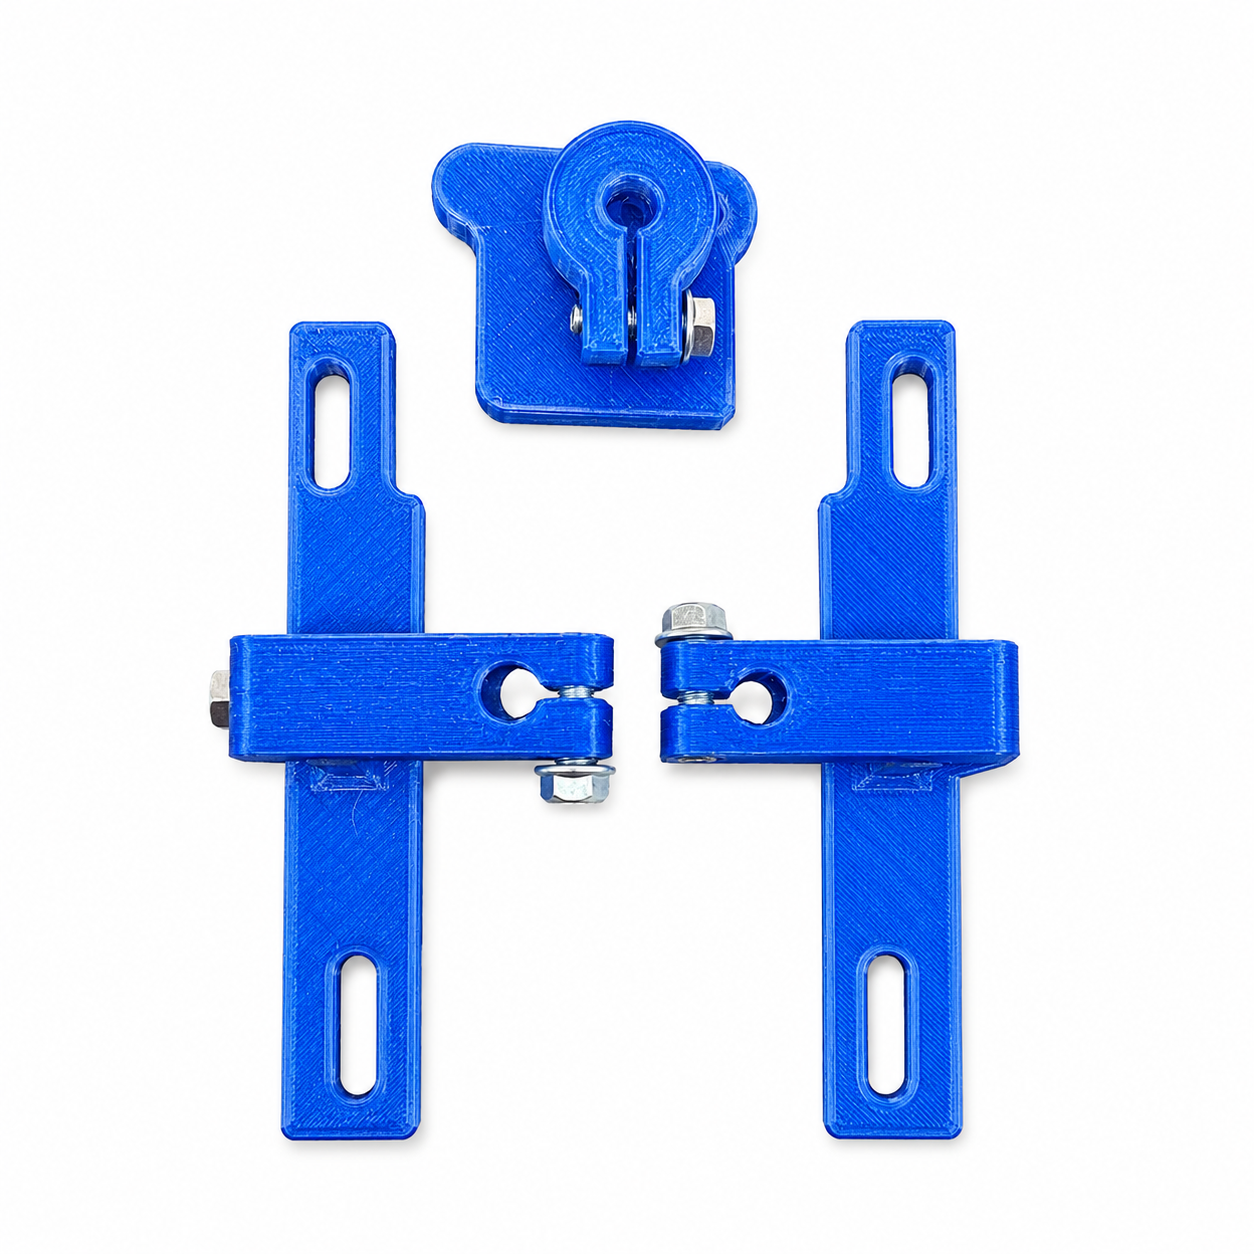
The blue anodized EMS lockout gear is CNC machined and built to last. For builders who want precise cam timing control during setup, the optional EMS 3D Printed Degree Solution adds a degree wheel and bracket system that makes dialing in your cam position clean and straightforward.
Compatibility: 2.0L and 2.3L Ford EcoBoost — Mustang EcoBoost, Focus ST, Focus RS
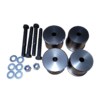
Kit includes: EMS CNC machined blue anodized VCT lockout gear
Hardware bag with all necessary fasteners
Optional Add-On — EMS 3D Printed Degree Solution (+$60):
3D printed degree wheel
3D printed mounting bracket
Hardware
Base Kit: $180
With Degree Solution: $240
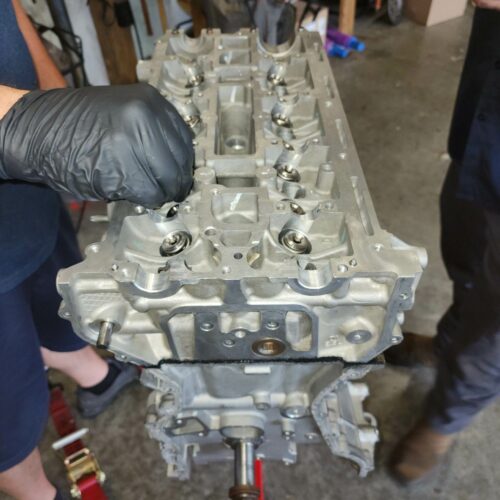
EMS Ex-VCT Delete — Installation Instructions For: 2.0L / 2.3L EcoBoost Engines
Step 1 — Remove the three T30 Torx screws from the front cover of the factory Ex-VCT phaser.
Step 2 — Remove the screws and remove the front cover.
Step 3 — Remove the VCT assembly from the VCT backplate as a complete assembly. Then remove the locating pin from the backing plate using a punch and hammer from the rear of the backing plate.
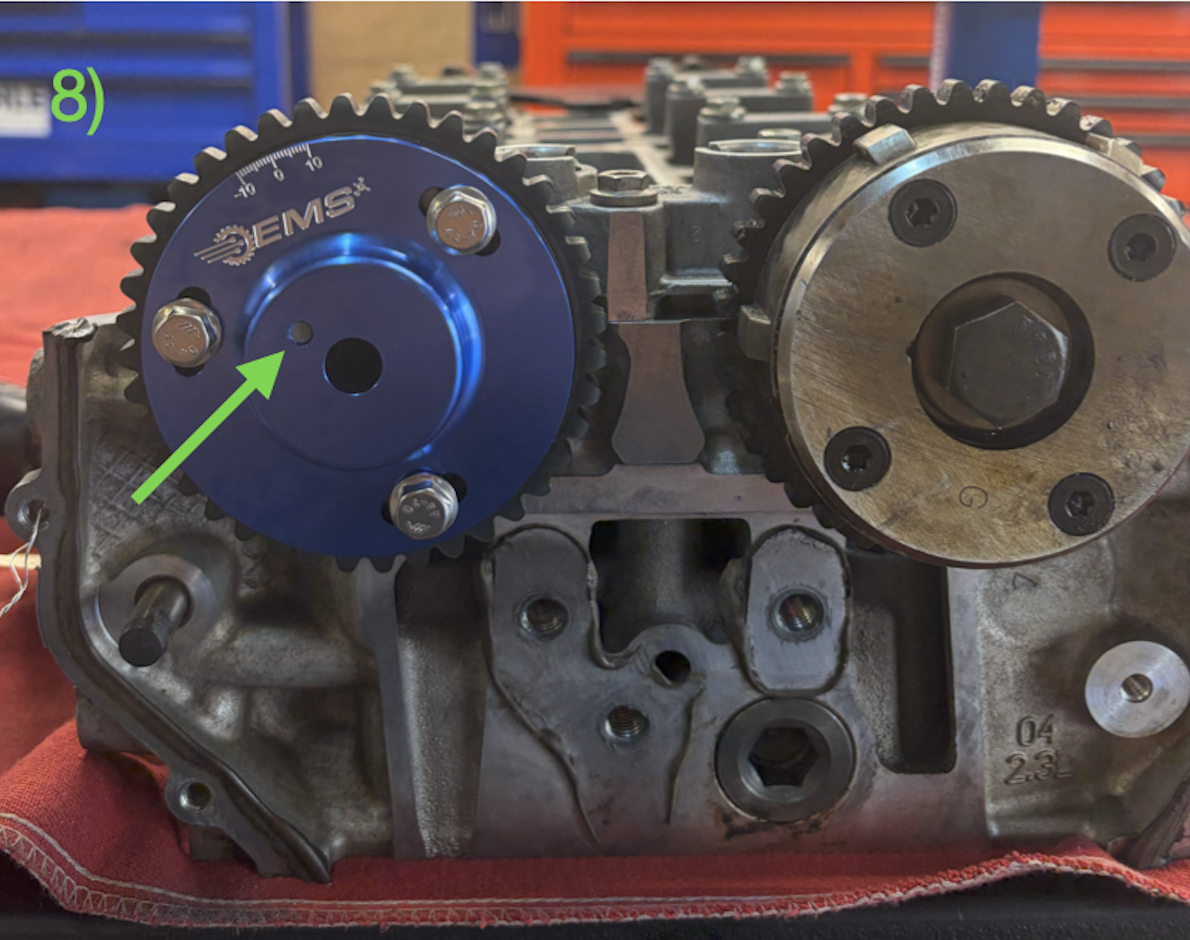
Step 4 — Identify the correct pin hole location on the backing plate (confirmed with green checkmark in photo — upper position when cam is at TDC).
Step 5 — Install the EMS Ex-VCT Delete onto the backing plate. Insert M6 fasteners finger tight/loose. The remaining factory VCT parts can be discarded.
Step 6 — Prepare the camshaft by having a machine shop ream the upper left VCT oil hole to 3/16″ at 12–12.5mm depth. This can also be done with a drill press. Note: the upper left hole is in relation to the camshaft being at TDC position, confirmed by the number one lobe pointing 45 degrees clockwise from vertical.
Step 7 — Install the provided steel pin with a dab of blue Loctite or retaining compound.
Step 8 — Install the Ex-VCT delete assembly onto the camshaft and seat fully using a dead blow hammer. Important: confirm the pin sits below the face of the EMS Ex-VCT delete. If the pin is above the face, remove everything and ream deeper. Failure to confirm this can lead to improper torque of the assembly and potentially engine failure.
Step 9 — With the timing plate in the cams, intake cam phaser torqued to spec, exhaust phaser bolt torqued to spec, Ex-VCT delete bolts loose, and tensioner released, the Ex-VCT delete will be in its “0” position. Note: this position varies depending on deck height, cylinder head machined thickness, head gasket type, and chain length. If the delete appears spun one way or the other from center, this is normal.
If not degreeing the cam: remove each M6 bolt one at a time, apply blue Loctite, and torque to 89–95 in-lbs.
If degreeing the cam: mark the gear directly above the 0 hash mark with a Dremel — this will be your reference position for cam timing adjustments.
Note: This product is recommended for builds exceeding 600whp. Professional installation is advised. Installation instructions available — contact EMS directly for guidance.
| Weight | 15 oz |
|---|---|
| Please Choose an Option | EMS VCT Lockout, EMS 3D Printed Degree Solution, I need both! |
Brand
Engineered Motorsport Solutions
Engineered Motorsport Solutions, led by Jessie Ringley, is the leader in EcoBoost performance, specializing in Mustang EcoBoost enhancements. As the owner and driver of the world’s fastest and quickest Ford Mustang EcoBoost, Jessie and his team of experts bring unmatched expertise. Engineered Motorsports Solutions offers a range of professional services including custom tuning by Ryan Martin, high horsepower engine builds, and offers a collection of high-performance parts for various Ford EcoBoost models.
Be the first to review “EMS – EcoBoost VCT Lockout Kit for Ford EcoBoost 2.0L / 2.3L”
Related products
S550 Cylinder Head Upgrades
-

S550 Cylinder Head Upgrades
EMS – EcoBoost Built Cylinder Head for 2015-2023 Mustang 2.3L
-
2015-2023 S550 Mustang EcoBoost
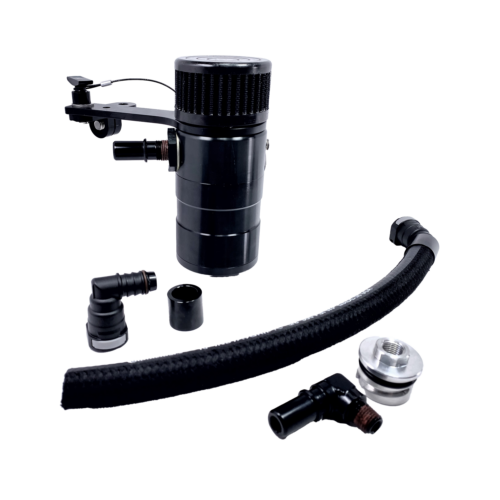
UPR Products 2015-2023 EcoBoost Mustang Breather Catch Can with Oil Cap Adapter (Dirty Side)
-

2015-2023 S550 Mustang EcoBoost
EMS – EcoBoost BadAss Billet Valve Cover for the 2.0/2.3L EcoBoost Engines w/EMS Logo
-
Reviews
There are no reviews yet.